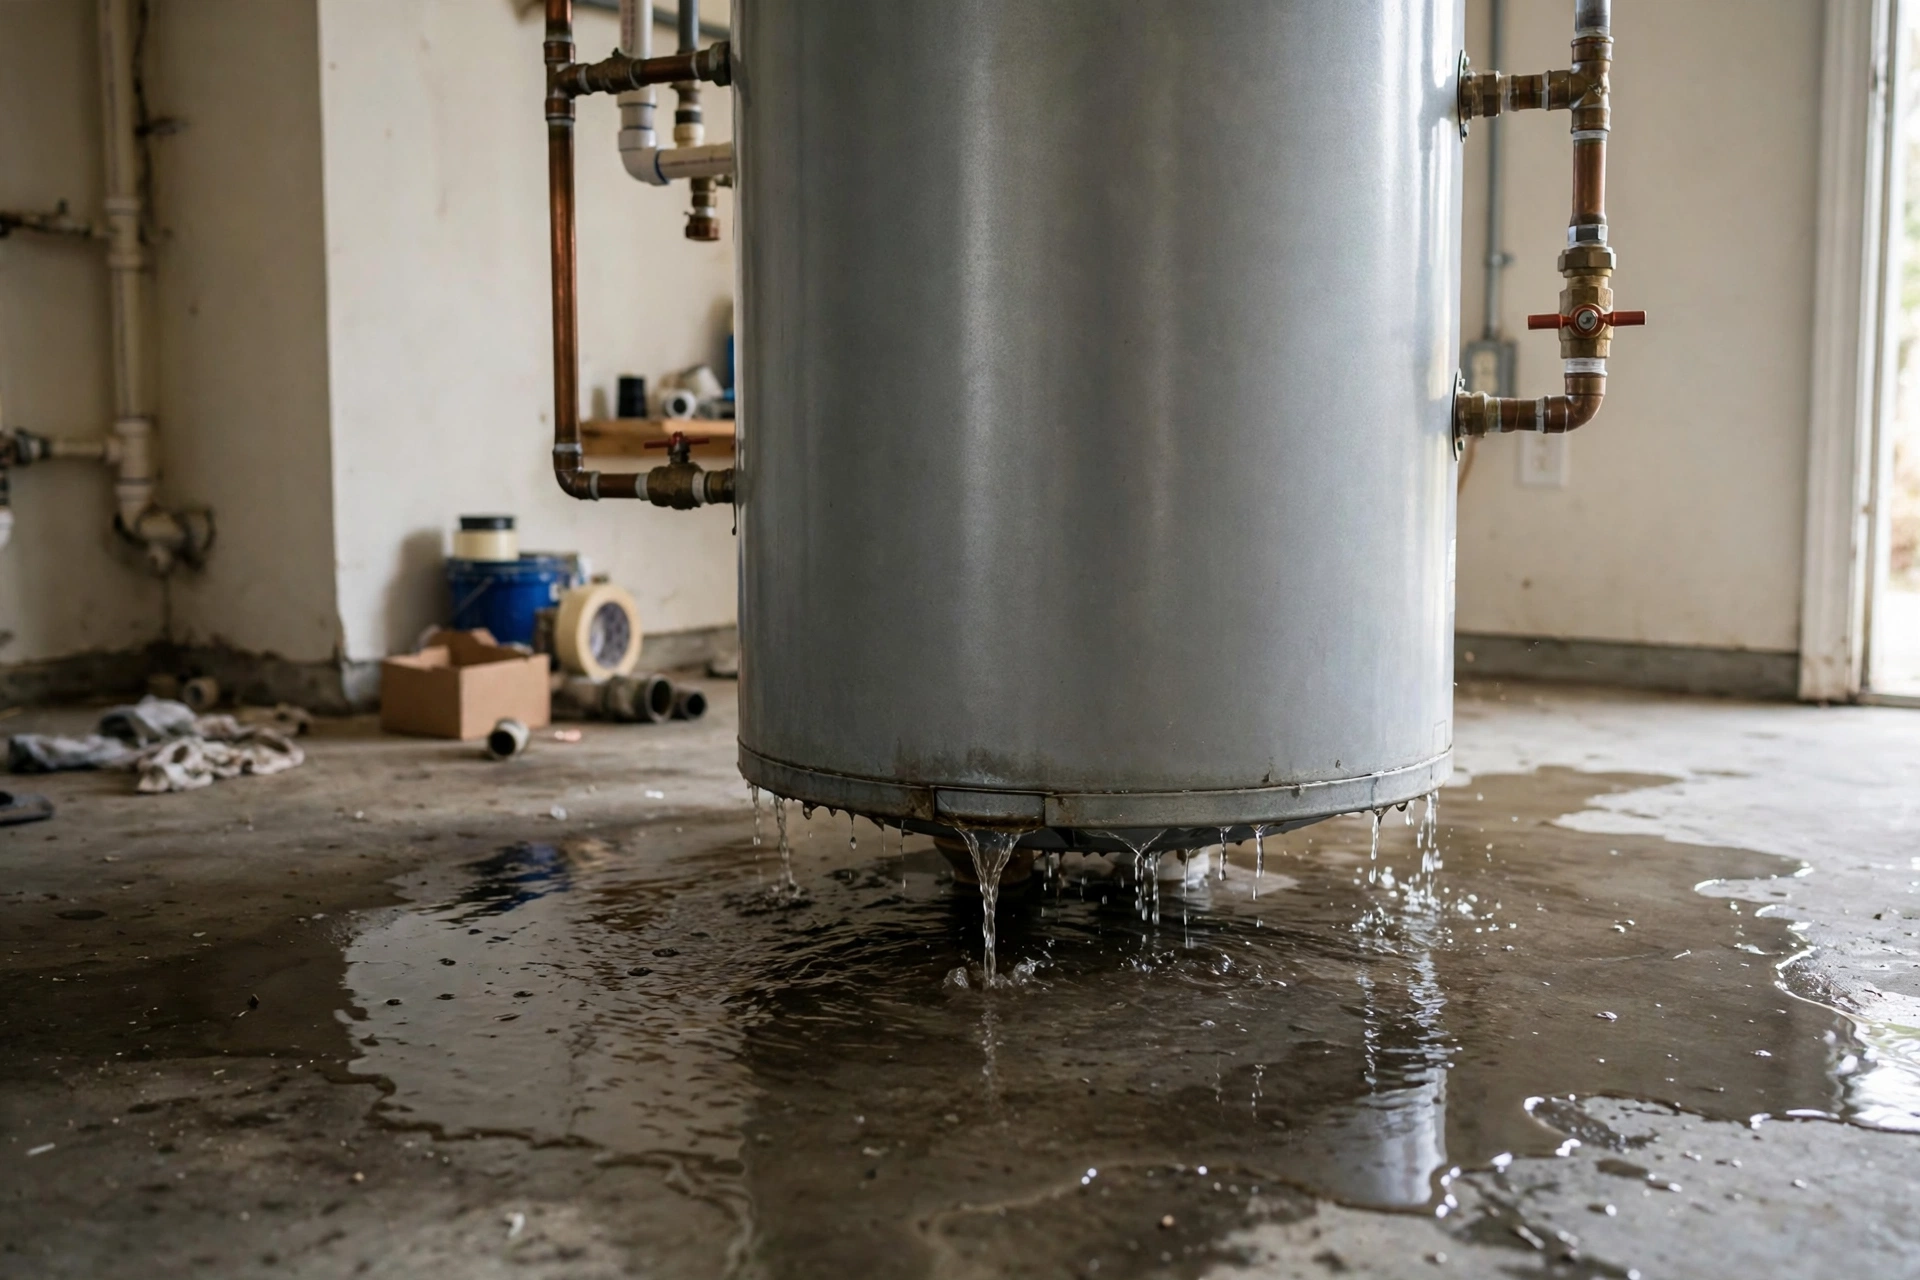
Water Heater Leaking? What to Do in Midland, TX
If your water heater is leaking, shut off the water supply to the tank, turn off power or gas, and drain it if…
Learn moreMidland water is hard, and every water heater in town is quietly collecting the evidence. Calcium and magnesium drop out of heated water and settle to the tank floor, where they form a crusty sediment layer that makes your heater work harder every month.
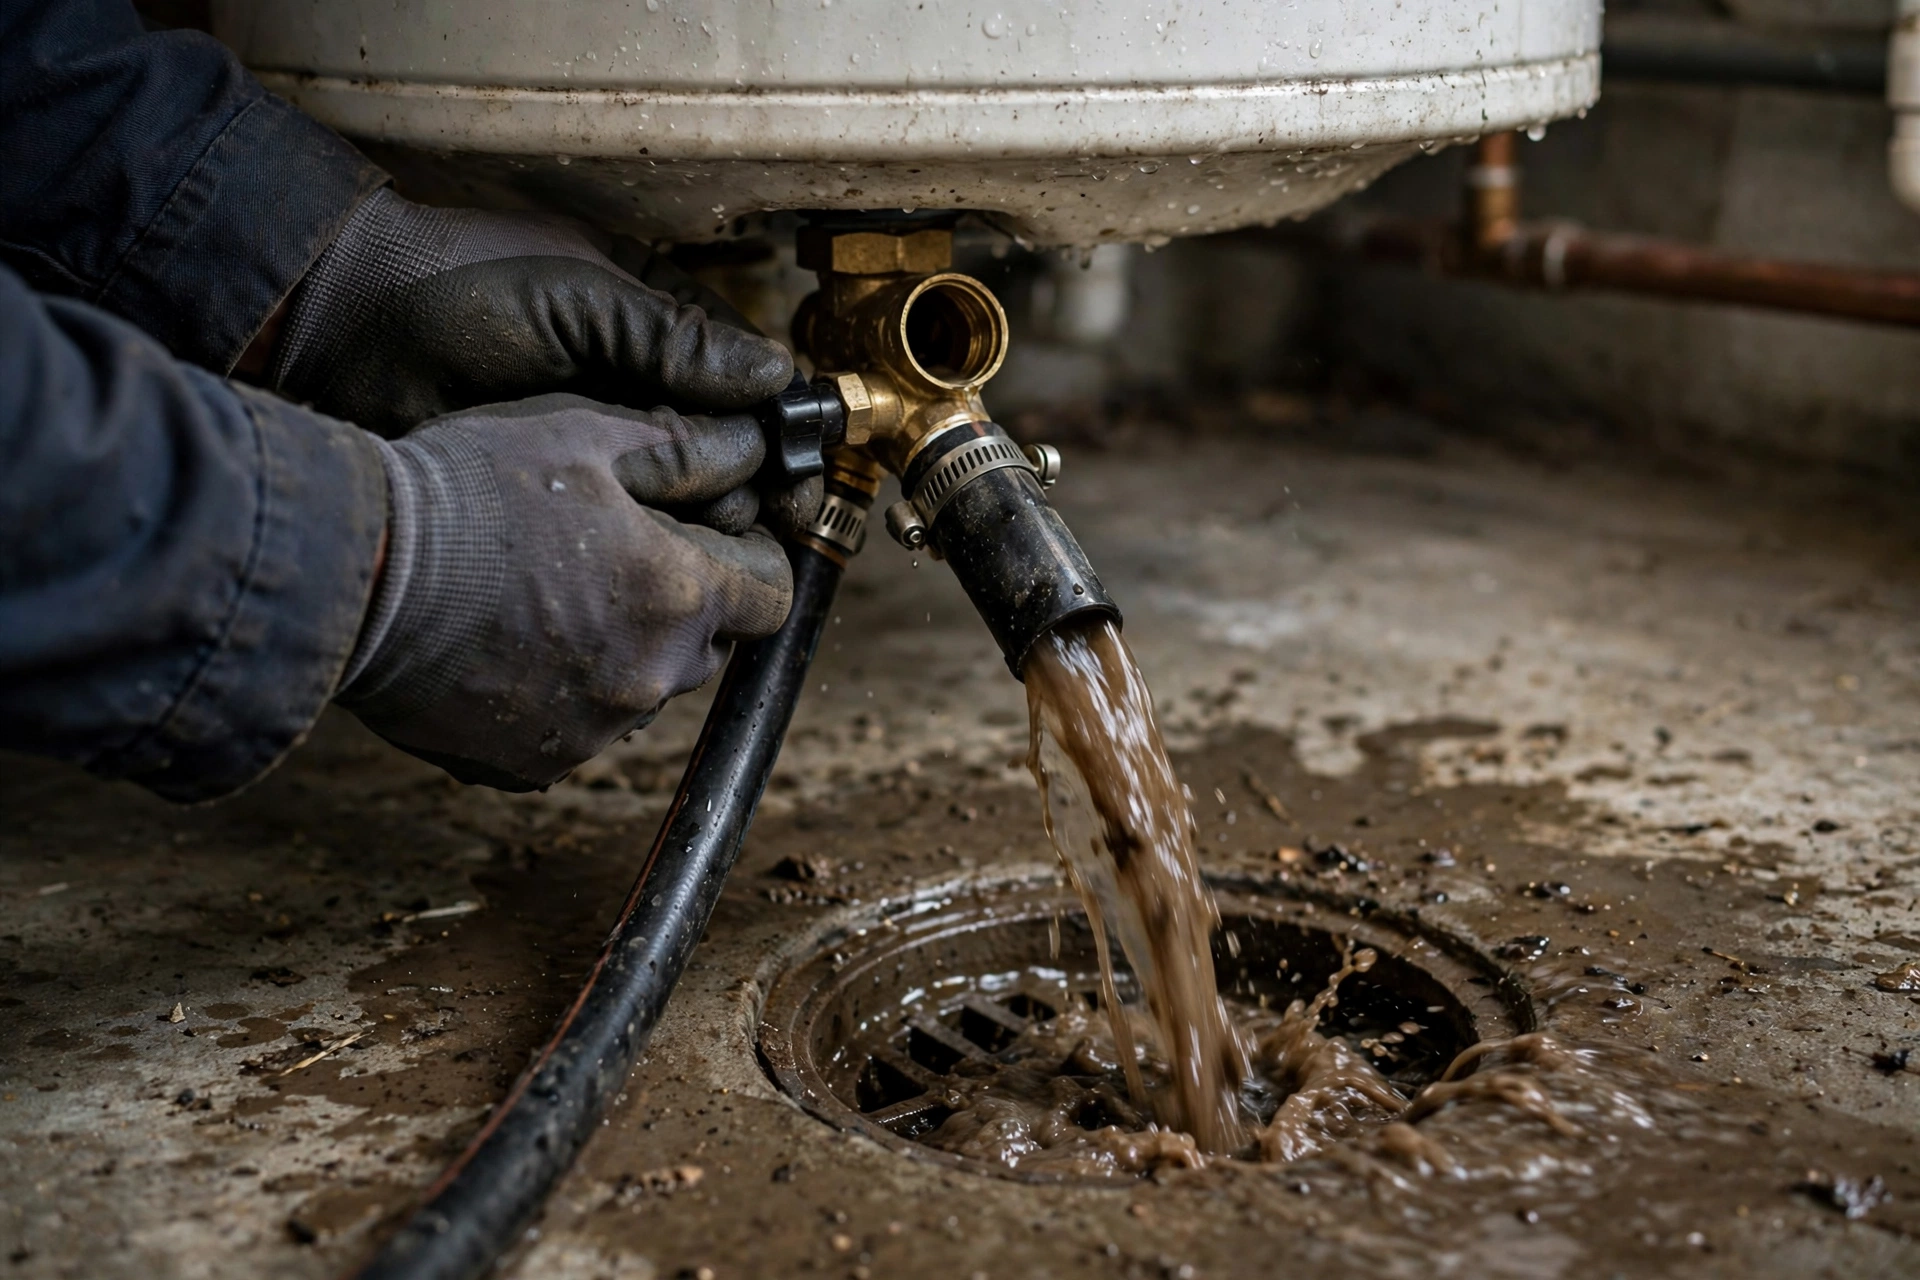
Flushing the tank is the simplest, most effective maintenance a homeowner can do. It takes about an hour, needs only a garden hose, and prevents the most common cause of early tank failure in West Texas. If you would rather have a professional handle it, our water heater repair team flushes tanks during service visits too.
Gather everything before you start so the heater is not sitting half-drained while you hunt for a hose. A standard garden hose that reaches a safe drain point is the main item. You will also want a bucket, work gloves, and a flathead screwdriver in case the drain valve is stiff.
The water that comes out will be hot and gritty. Run the hose to a driveway, floor drain, or another spot where hot water and sediment will not damage landscaping or pool equipment.
Check what kind of drain valve your tank has before you start. Older plastic valves can crack if forced, and many homeowners upgrade to a brass ball valve during a professional service visit. A full-port brass valve drains faster and is far less likely to clog on chunks of scale, which matters in Midland where sediment loads run heavy.
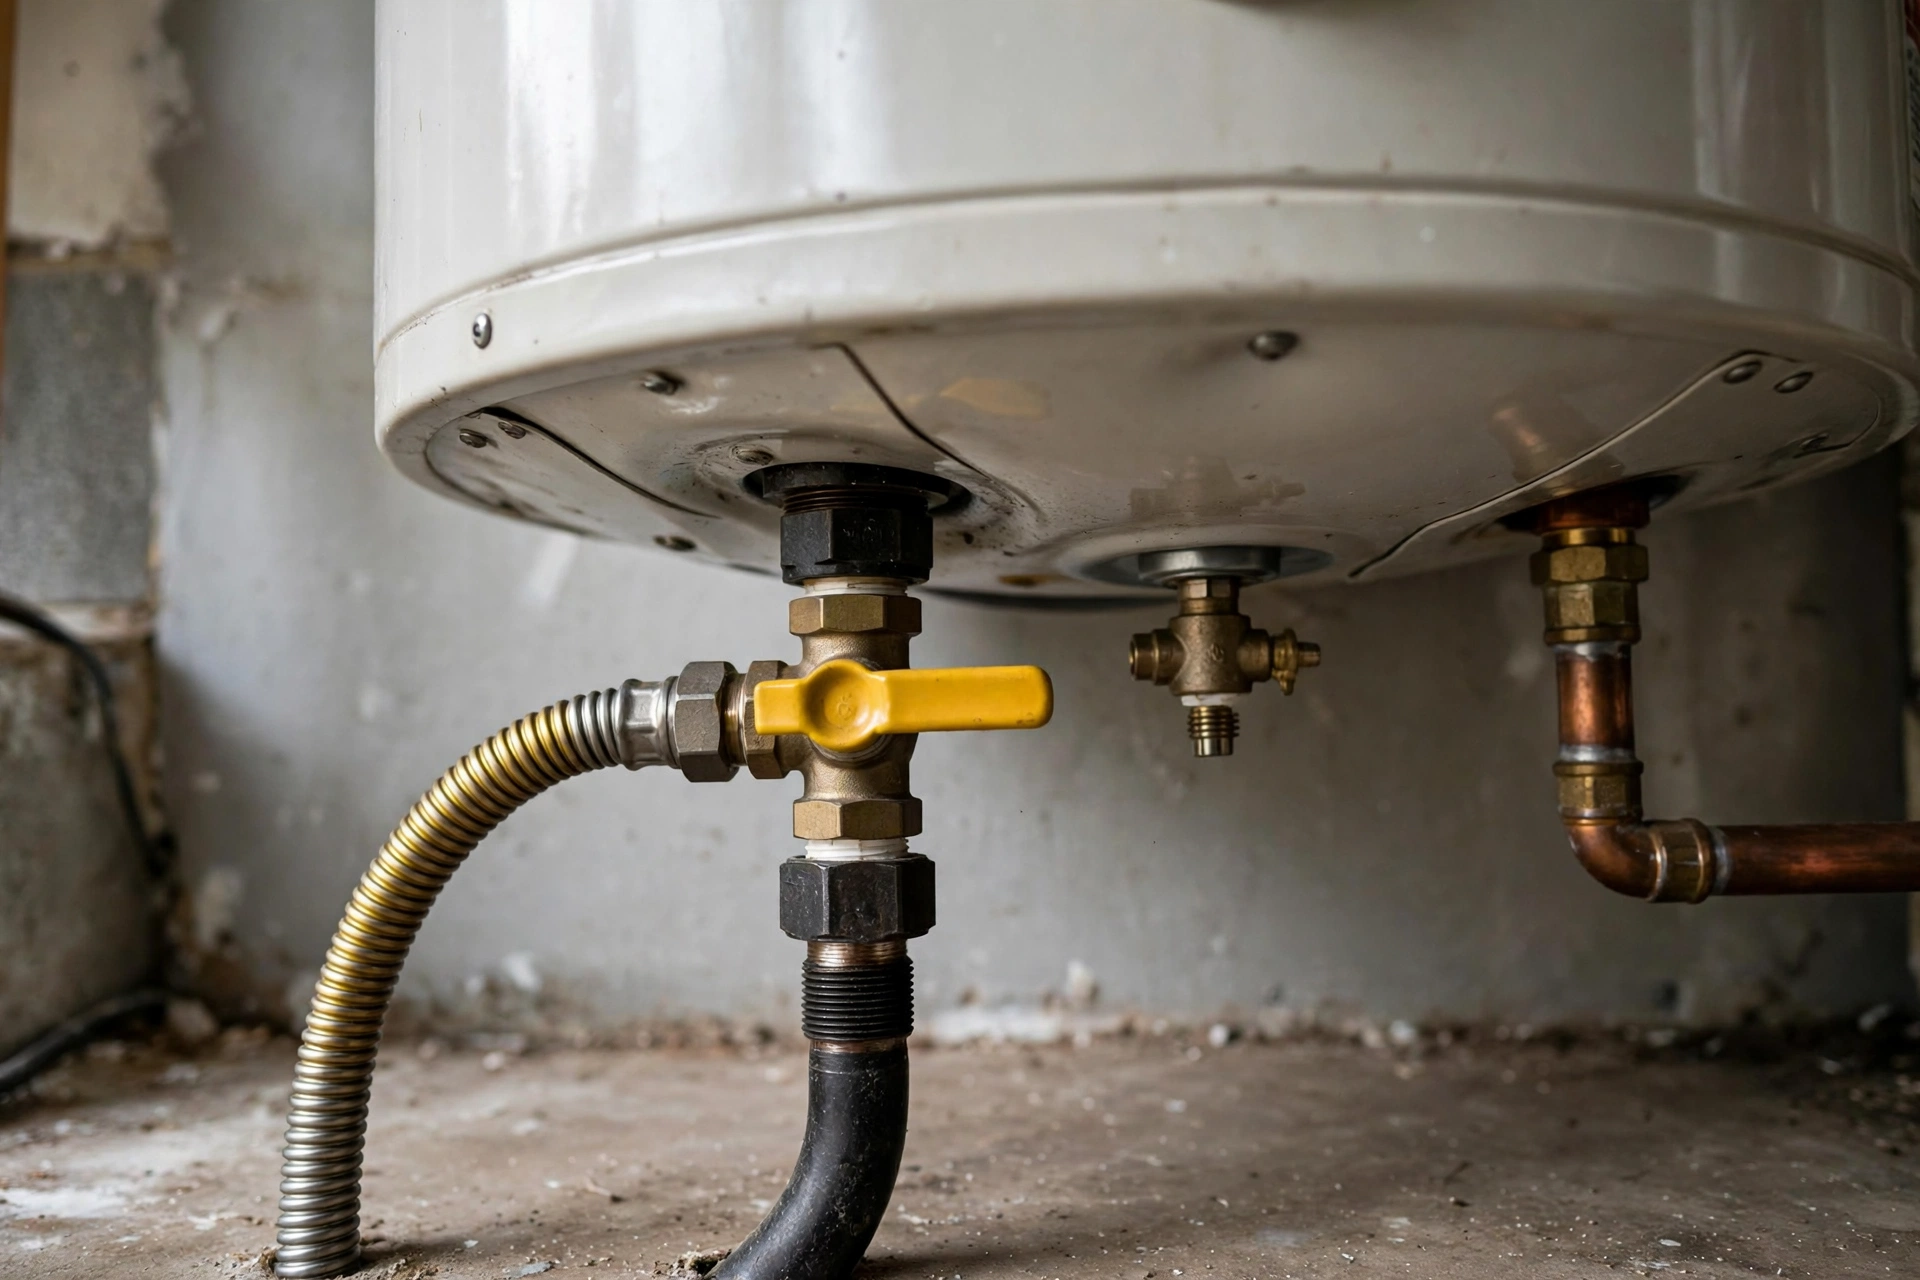
Safety comes first. For an electric water heater, switch off the breaker that feeds the unit. For a gas heater, turn the gas control valve to the pilot or off position. Heating an empty or partially drained tank can destroy elements and damage the tank in minutes.
Let the water cool for a few hours if you can. Draining scalding water is unpleasant and the sediment stirs up less in cooler water, so it flushes out more cleanly.
If you cannot find a breaker labeled for the water heater, look for a double-pole 30-amp breaker. When in doubt, use a non-contact voltage tester at the unit before touching any wiring compartments. For gas units, the control knob usually has clear markings for pilot, on, and off, with the lighting instructions printed on a label right on the tank.
Connect the hose to the drain valve at the bottom of the tank and route it to your drain point. Open a hot water tap somewhere in the house to let air in, then open the drain valve slowly. The first water out will be cloudy with sediment, which is exactly what you want to see.
Drain the tank fully. In Midland, expect a surprising amount of grit, sand-like particles, and sometimes chunks of scale. That material was insulating your tank floor and making every heating cycle less efficient.
If the flow slows to a trickle partway through, sediment may be clogging the drain valve. Briefly cracking the cold water inlet open sends a surge that can clear the blockage. If the valve clogs repeatedly, close it, let the tank settle, and try again rather than forcing it, since a broken valve turns a maintenance job into a repair.
Once the tank is empty, briefly turn the cold water supply back on in bursts to stir up remaining sediment and push it out the hose. Watch the water run from cloudy to clear. Two or three bursts usually do it.
Close the drain valve, remove the hose, close the hot water tap you opened, and let the tank refill completely. Then restore power or relight the gas according to the instructions on the unit. Our tank vs tankless comparison can help if this process makes you wonder about switching types.
After refilling, open the hot taps one more time to bleed trapped air until the water runs smooth. For gas units, follow the printed relighting steps carefully and confirm the burner lights with a steady blue flame. For electric units, make sure the tank is completely full before restoring power, since dry-firing an element destroys it in seconds.
Once a year is the minimum for Midland water. Homes on well water or in areas with especially mineral-heavy supply should flush every six months. If the water that comes out looks like chocolate milk or the hose clogs with scale, your tank has been neglected and may benefit from a professional flush and inspection.
Pair the flush with an anode rod check every couple of years. The anode rod protects the tank from corrosion while flushing protects it from sediment, and the two together are the full formula for a long tank life. See our anode rod guide for details.
Keep a simple log of each flush with the date and what the water looked like. Over a few years the log shows whether your sediment load is stable or getting worse, which helps a technician spot changes in your water supply. It also proves maintenance history if a warranty question ever comes up.
 Want Water Heater Guidance for Your Home?
Read the guide, then describe your water heater problem and we will help arrange the next step.
About an hour for most residential tanks, plus cooling time before you start. Larger tanks or heavy sediment can take a bit longer.
Most homeowners can do it safely by following the shutoff steps. Call a professional if the drain valve is frozen, the tank is very old, or you are unsure about the gas controls.
Sediment builds into a thick layer that causes popping noises, longer heat times, higher energy use, and eventually tank failure from overheating.
Generally yes, but be gentle with old drain valves since plastic ones can crack. If the tank is over 12 years old, consider having a technician do it during an inspection.
If your water heater is leaking, shut off the water supply to the tank, turn off power or gas, and drain it if…
Learn more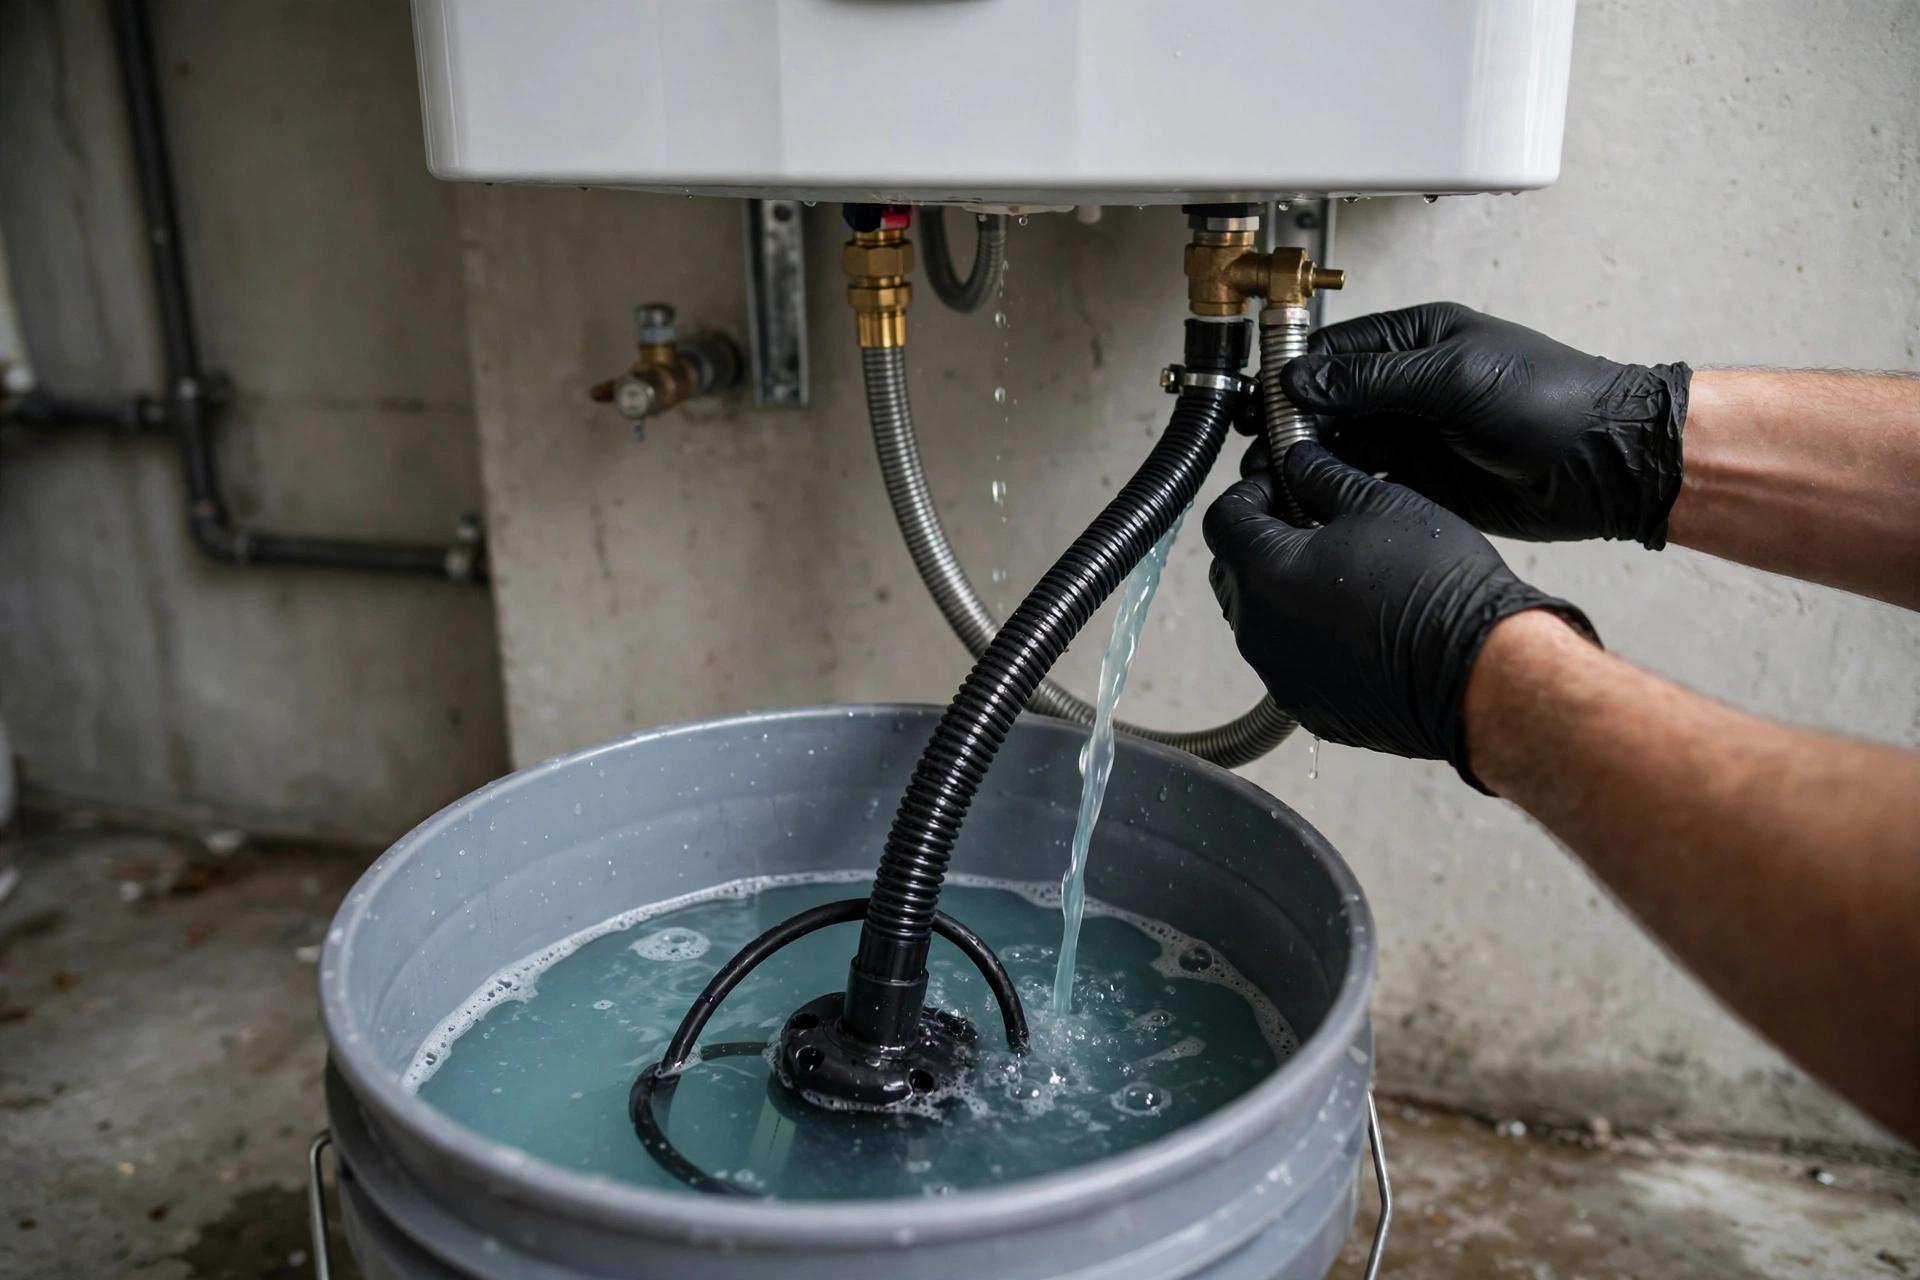
Descaling a tankless water heater means circulating a mild acid solution through the heat exchanger to dissolv…
Learn more
The clearest signs you need a new water heater are age over 10 years, rust-colored hot water, rumbling sedimen…
Learn moreHot Water, HandledFlushing a water heater means draining the tank through the drain valve to carry out the mineral sediment that hard Midland water leaves behind. Done once a year, it keeps the tank heating efficiently and adds years to its life. This guide walks through the full process safely, and our water heater maintenance page covers the rest of the yearly routine.